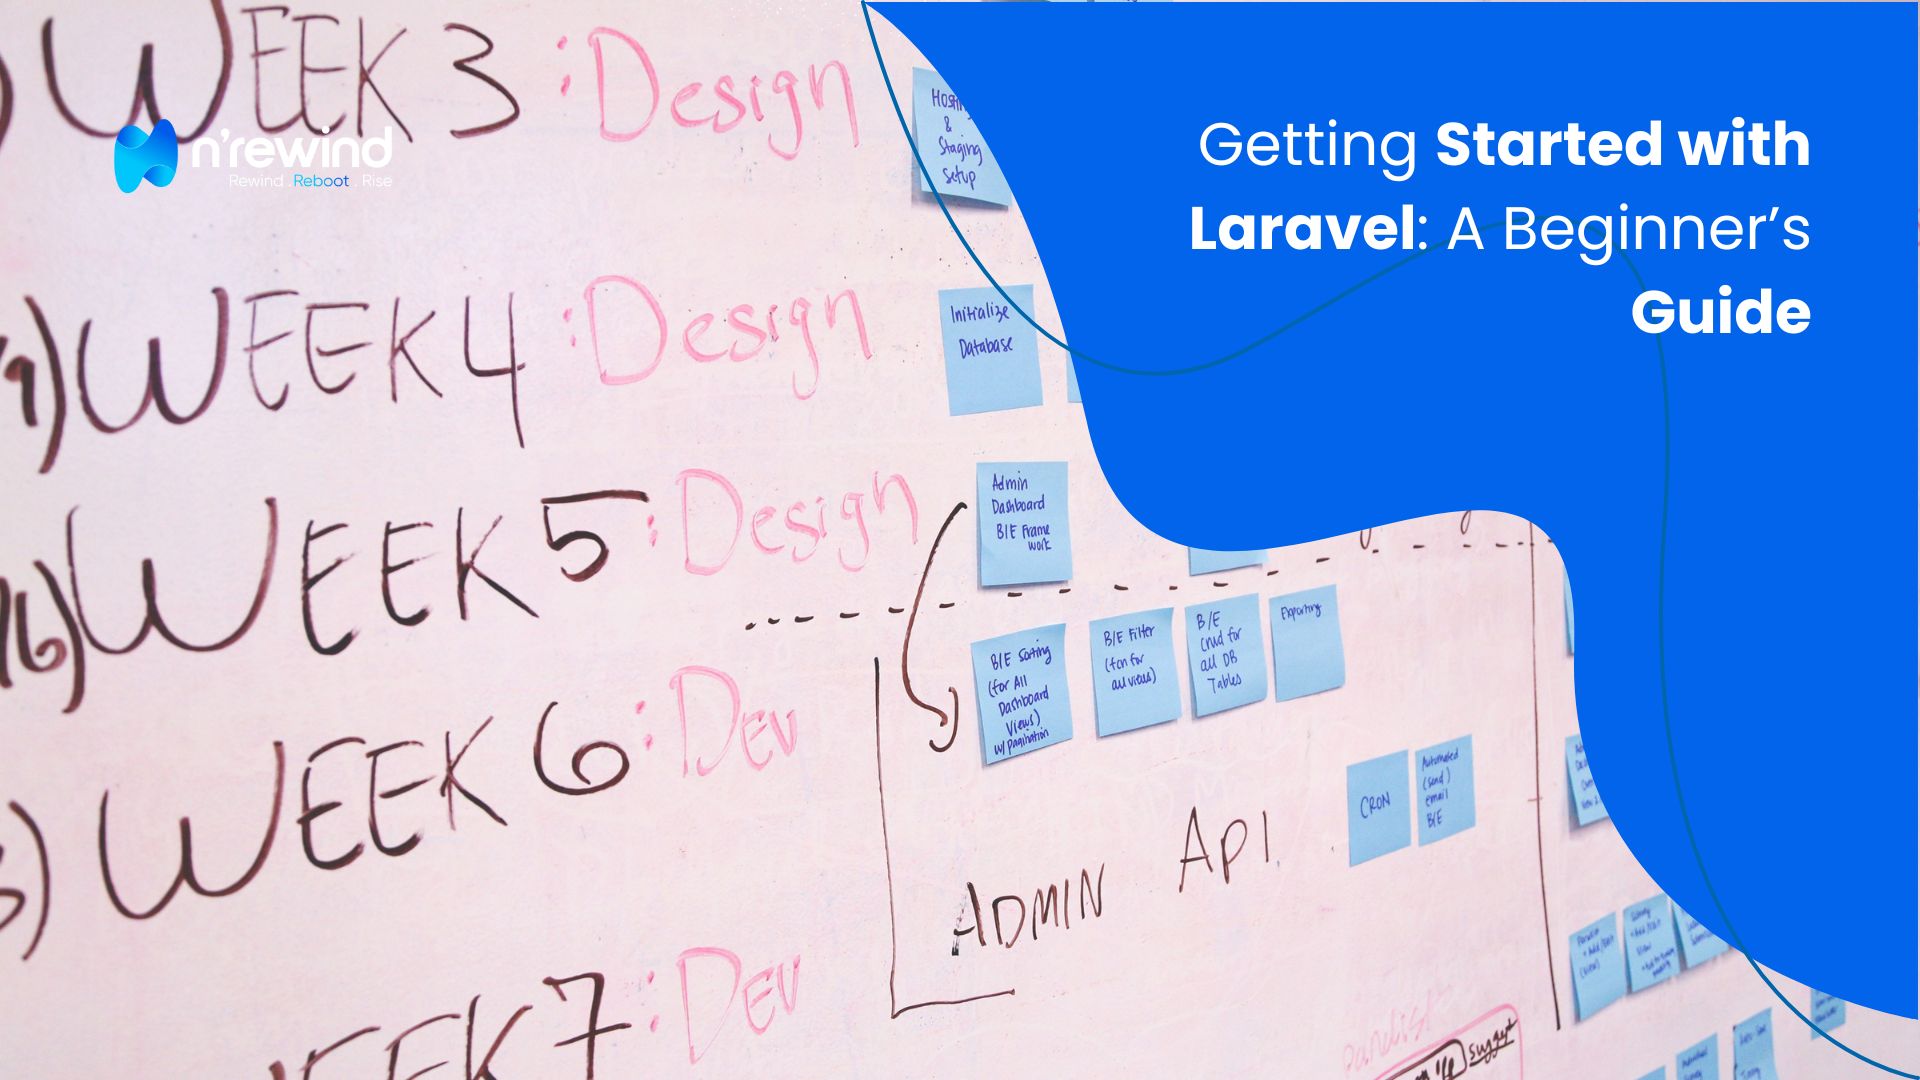
Laravel is one of the most popular PHP frameworks, known for its elegant syntax, powerful features, and ease of use. Whether you’re new to web development or transitioning from another framework, this guide will help you get started with Laravel effortlessly.
What is Laravel?
Laravel is an open-source PHP framework designed for building modern web applications. It follows the Model-View-Controller (MVC) architecture and offers built-in tools for authentication, routing, sessions, and more.
Why Choose Laravel?
- Elegant Syntax – Laravel’s clean and expressive syntax makes coding a breeze.
- MVC Architecture – Ensures a structured and scalable approach to development.
- Built-in Authentication & Security – Reduces the need for writing extra authentication code.
- Eloquent ORM – Makes database interactions simpler and more intuitive.
- Blade Templating Engine – Helps create dynamic and reusable views.
For a deeper understanding of Laravel’s benefits, consider exploring the Backend Development section on NRewind Technologies’ blog.
Step 1: Installing Laravel
Before installing Laravel, ensure you have the following requirements:
- PHP (>= 8.0)
- Composer (Dependency Manager for PHP)
- A Web Server (Apache, Nginx, or Laravel Sail for Docker users)
- Database (MySQL, PostgreSQL, SQLite, or SQL Server)
Install Laravel via Composer
Open your terminal and run:
composer create-project –prefer-dist laravel/laravel my-first-laravel-app
Alternatively, you can use the Laravel Installer:
composer global require laravel/installer
laravel new my-first-laravel-app
Step 2: Running the Development Server
Navigate to your project directory and start the Laravel development server:
cd my-first-laravel-app
php artisan serve
Now, open your browser and visit http://127.0.0.1:8000/. You should see the default Laravel welcome page.
Step 3: Understanding Laravel Folder Structure
Once installed, you’ll find various folders in your Laravel project:
- app/ – Contains application logic (Models, Controllers, Middleware, etc.).
- routes/ – Stores route definitions (web.php, api.php, etc.).
- resources/views/ – Contains Blade templates for views.
- database/ – Stores migration files and database seeds.
- public/ – Entry point for web requests (index.php).
- config/ – Configuration files for your application.
Step 4: Configuring Environment Variables
Laravel uses an .env file to manage environment-specific settings. Open the .env file and configure your database settings:
DB_CONNECTION=mysql
DB_HOST=127.0.0.1
DB_PORT=3306
DB_DATABASE=your_database
DB_USERNAME=your_username
DB_PASSWORD=your_password
Run migrations to set up your database:
php artisan migrate4. Enable Lazy Loading
Lazy loading defers image loading until they are needed (i.e., when the user scrolls to them). WordPress has built-in lazy loading, but you can enhance it using plugins like:
- Lazy Load by WP Rocket
- a3 Lazy Load
Step 5: Creating Your First Route
Laravel routes are defined in routes/web.php. Open the file and add a simple route:
Route::get('/hello', function () {
    return "Hello, Laravel!";
});
Now, visit http://127.0.0.1:8000/hello in your browser. You should see “Hello, Laravel!” displayed.
Step 6: Creating Your First Controller
To generate a controller, run:
php artisan make:controller WelcomeControllerThis creates app/Http/Controllers/WelcomeController.php. Open the file and modify it:
namespace App\Http\Controllers;

use Illuminate\Http\Request;

class WelcomeController extends Controller
{
    public function index()
    {
        return view('welcome');
    }
}
Now, update routes/web.php:
use App\Http\Controllers\WelcomeController;

Route::get('/', [WelcomeController::class, 'index']);
This connects the root URL (/) to our WelcomeController and loads the welcome.blade.php view.
Step 7: Using Blade Templating Engine
Blade makes it easy to create dynamic templates. Open resources/views/welcome.blade.php and modify it:
<!DOCTYPE html>
<html>
<head>
    <title>Laravel Welcome Page</title>
</head>
<body>
    <h1>Welcome to Laravel!</h1>
</body>
</html>
This simple Blade template will render when visiting the homepage.
Step 8: Connecting Laravel to a Database
Laravel uses Eloquent ORM for database interactions. To create a model and migration, run:
php artisan make:model Post -mThis generates a Post model (app/Models/Post.php) and a migration file (database/migrations/xxxx_xx_xx_create_posts_table.php). Modify the migration file:
public function up()
{
    Schema::create('posts', function (Blueprint $table) {
        $table->id();
        $table->string('title');
        $table->text('content');
        $table->timestamps();
    });
}
Run migrations:
php artisan migrateNow, you can use Eloquent to interact with the posts table:
use App\Models\Post;

Post::create([
    'title' => 'My First Post',
    'content' => 'This is my first blog post in Laravel!'
]);
Conclusion
Congratulations! 🎉 You’ve set up Laravel, created routes, controllers, views, and connected to a database. Laravel’s features make development efficient and enjoyable. Keep exploring and building more advanced applications!
For practical examples and tutorials on these features, visit the Blogs section of NRewind Technologies’ website.
What’s Next?
- Learn about Laravel Middleware
- Implement Authentication with Laravel Breeze or Jetstream
- Use Laravel API Resources for RESTful APIs
- Deploy Your Laravel App to a Live Server
Happy coding!
"When building with Laravel, simplicity meets power. Its elegant syntax and robust features help developers craft modern web applications effortlessly. Just like this sleek and structured guide, Laravel empowers you to write clean, scalable, and efficient code—turning your vision into reality with ease."